Practical Tips to Keep Kids’ Art Organized and Clutter-Free
Parents love to celebrate their children’s creativity, but the sheer volume of artwork can quickly take over countertops, refrigerators, and drawers. Finding a good system to organize kids’ art not only helps keep your home tidy but also honors your child’s efforts and creativity in a meaningful way. This post shares practical tips and ideas to help you organize and store your children’s masterpieces effectively.
Why Organize Kids’ Art?
Children’s artwork is sentimental and unique, but without a system, it can create clutter and stress. Organizing art:
– Preserves memories you and your child can revisit
– Teaches your child the value of their work
– Keeps your home tidy and clutter-free
– Makes space for new creations
– Encourages creativity in an orderly environment
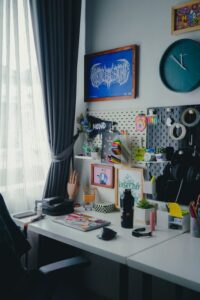
Step 1: Designate a Dedicated Art Area
Having a specific spot for your child’s artwork can make organization much easier.
Create an Art Display Zone
– Use a corkboard, wire with clips, or magnetic strips on a wall for showcasing current favorites.
– Rotate displayed pieces regularly to keep the space fresh.
– Let your child help decide what goes on display; this encourages pride in their work.
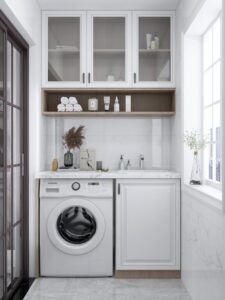
Set Up a Storage Station
– A drawer, bin, or shelf near the art area can store supplies and finished projects.
– Consider plastic containers with labels for easy identification.
– Keep this area accessible but organized to encourage your child to return artwork after display.
Step 2: Sort Artwork Regularly
Develop a habit of sorting through art often. This prevents piles from growing uncontrollably.
– Schedule a monthly or quarterly art review session.
– Involve your child: ask which pieces they want to keep, gift, or recycle.
– Sort art into categories such as “Keep,” “Gift,” “Digital Archive,” and “Recycle.”
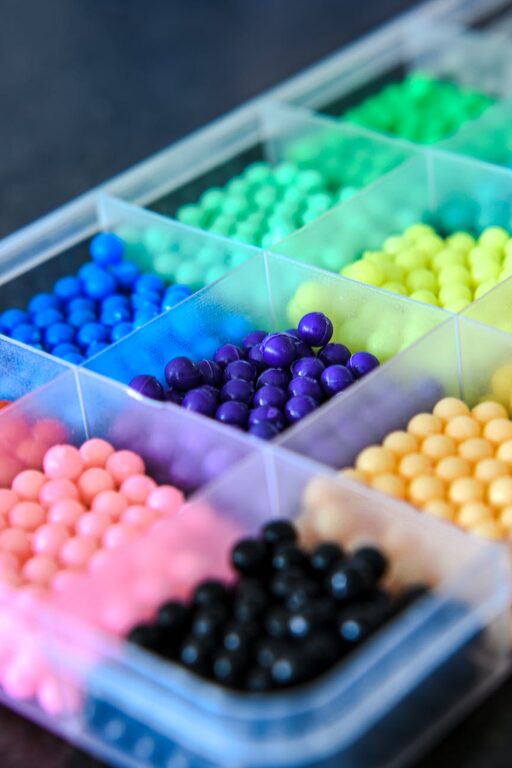
Step 3: Keep Selected Artwork Organized
Once you decide which pieces to keep, store them neatly using one or more of these ideas:
Use Portfolio Folders
– Purchase large, flat art portfolios or make your own from cardboard.
– Sort art by date, child’s age, or theme.
– Label each portfolio clearly for easy access.
Create a Digital Archive
– Photograph or scan artwork to save digital copies.
– Apps or cloud storage can organize these images.
– Digital archives save physical space and allow sharing with family easily.
Store in Binders or Scrapbooks
– Use plastic sleeves or page protectors in binders to hold smaller pieces.
– Scrapbooks allow you to add notes, dates, and stories about each piece.
– This option is great for preserving a curated collection.
Step 4: Repurpose and Display Creatively
Sometimes keeping every original piece isn’t feasible. Consider creative alternatives:
– Make photo books of scanned artwork.
– Turn art into gifts like calendars, mugs, or tote bags.
– Use parts of artwork for greeting cards or wrapping paper.
– Laminate favorites for placemats or bookmarks.
Step 5: Teach Your Child About Organization
Helping kids develop good habits early can make the process smoother.
– Encourage decision-making by involving them in sorting.
– Celebrate their favorites by creating “exhibitions” at home.
– Teach respect for their creations by treating artwork with care.
Bonus Tips for Busy Parents
– Use a large accordion file system labeled by month or activity.
– Set up an “inbox” for new artwork to decide later.
– Keep a small portable folder for art created outside the home.
– Collaborate with teachers or caregivers to send home selected pieces.
Conclusion
Organizing your child’s artwork doesn’t need to be overwhelming. By setting up dedicated spaces, sorting regularly, and using creative storage solutions, you can keep treasured creations well-preserved and your home clutter-free. Remember, the goal is to celebrate creativity and make memories that last, all while maintaining an organized environment.
Try different methods and discover what works best for your family—it can even become a fun routine to share with your kids!
Happy organizing!